BindingsAndFasteners#
- class augraphy.augmentations.bindingsandfasteners.BindingsAndFasteners(overlay_types='random', foreground=None, effect_type='random', width_range='random', height_range='random', angle_range=(-30, 30), ntimes=(2, 6), nscales=(1.0, 1.5), edge='random', edge_offset=(5, 20), use_figshare_library=0, p=1)[source]#
Bases:
AugmentationCreates binding and fastener mark in the input image.
- Parameters:
overlay_types (string) – Types of overlay method.
foreground (string or numpy array, optional) – Path to foreground image or the foreground image.
effect_type (string, optional) – Types of binding effect, select from either “random”, “punch_holes”, binding_holes”, “clips” or “triangle_clips”.
width_range (tuple, optional) – Pair of ints to determine the width of the binder mark canvas.
height_range (tuple, optional) – Pair of ints to determine the height of the binder mark canvas.
angle_range (tuple, optional) – Pair of ints to determine the rotating angle of the binder marks.
ntimes (tuple, optional) – Pair of ints to determine number of repetition to draw foreground image.
nscales (tuple, optional) – Pair of floats to determine scale of foreground image size.
edge (string, optional) – Which edge of the page the foreground copies should be placed on. The current supported edges are “left”, “right”, “top”, “bottom” or “random”.
edge_offset (tuple, optional) – Pair of values to determine how far from the edge of the page to draw the copies. The offset value will be in percentage of the image shorter edge if the value is less than 1.
use_figshare_library (int, optional) – Flag to download foreground images from figshare library.
p (float, optional) – The probability this Augmentation will be applied.
- add_noise(image, noise_probability, noise_value_range)[source]#
Add noise to black pixels of the image.
- Parameters:
image (numpy.array (numpy.uint8)) – The image to apply the function.
noise_probability (float) – The probability of applied noise.
noise_value (tuple) – The value of applied noise.
- create_binding_holes(edge, ysize, xsize, ntimes)[source]#
Create effect of binding holes mark.
- Parameters:
edge (string) – The side of the binding effect.
ysize (int) – The height of the input image.
xsize (int) – The width of the input image.
ntimes (int) – The number of applied binding effect.
- create_clips(edge, ysize, xsize, ntimes, edge_offset)[source]#
Create effect of clip mark.
- Parameters:
edge (string) – The side of the binding effect.
ysize (int) – The height of the input image.
xsize (int) – The width of the input image.
ntimes (int) – The number of applied binding effect.
edge_offset (int) – Offset value from each edge.
- create_foreground(image, edge, edge_offset)[source]#
Create foreground based on current input effect type.
- Parameters:
image (string) – The image to apply the function.
image – The edge of the foreground.
- create_punch_holes(ysize, xsize, ntimes)[source]#
Create effect of punch holes mark.
- Parameters:
ysize (int) – The height of the input image.
xsize (int) – The width of the input image.
ntimes (int) – The number of applied binding effect.
- create_triangle_clips(edge, ysize, xsize, ntimes, edge_offset)[source]#
Create effect of triangle clip mark.
- Parameters:
edge (string) – The side of the binding effect.
ysize (int) – The height of the input image.
xsize (int) – The width of the input image.
ntimes (int) – The number of applied binding effect.
edge_offset (int) – Offset value from each edge.
Overview#
The Bindings And Fasteners augmentation creates binder mark in the input image. User can insert their own binder image or use the synthetic binder mark. The supported synthetic binder marks are punch holes”, binding holes” and “clips”.
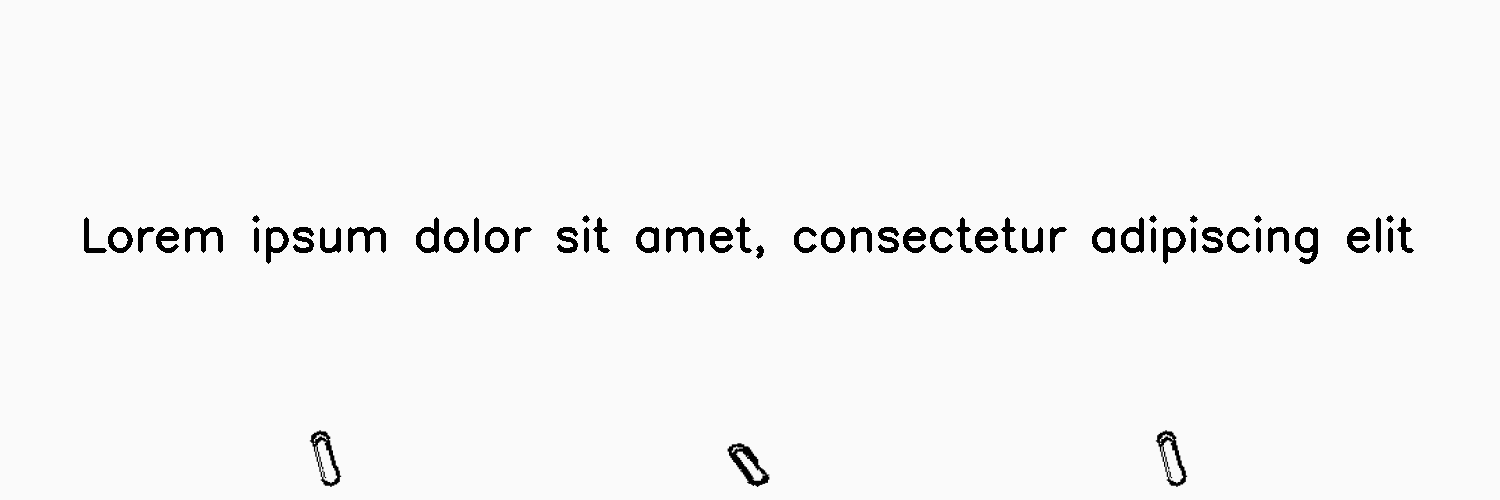
Initially, a clean image with single line of text is created.
Code example:
# import libraries
import cv2
import numpy as np
from augraphy import *


# create a clean image with single line of text
image = np.full((500, 1500,3), 250, dtype="uint8")
cv2.putText(
    image,
    "Lorem ipsum dolor sit amet, consectetur adipiscing elit",
    (80, 250),
    cv2.FONT_HERSHEY_SIMPLEX,
    1.5,
    0,
    3,
)

cv2.imshow("Input image", image)
Clean image:

Example 1#
In this example, a BindingsAndFasteners augmentation instance is initialized the binding effect is set to use a synthetic punch holes (effect_type=”punch_holes”). Both of the width and height of punch holes are set to random value in between 70 to 80 pixels (70, 80). The punch holes mark is set to bind 3 times (3,3) and with scale of 1.5 (1.5,1.5). The effect is set at the left edge and with random offset range of 30 to 50 pixels from the chosen edge.
Code example:
binder_punch_holes = BindingsAndFasteners(overlay_types="darken",
                                          foreground=None,
                                          effect_type="punch_holes",
                                          width_range = (70,80),
                                          height_range = (70,80),
                                          ntimes=(3, 3),
                                          nscales=(1.5, 1.5),
                                          edge="left",
                                          edge_offset=(30,50),
                                          use_figshare_library=0,
                                          )

img_punch_holes =binder_punch_holes(image)
cv2.imshow("punch_holes", img_punch_holes)
Augmented image:

Example 2#
In this example, a BindingsAndFasteners augmentation instance is initialized and it is using a synthetic binding holes mark. Both of the width and height of binders are set to random (“random”). The binding holes mark is set to bind 9 to 10 times (9,10) and with scale of 1 to 2 (1,2). The effect is set at the left edge and with random offset range of 30 to 50 pixels from the chosen edge.
Code example:
binder_binding_holes = BindingsAndFasteners(overlay_types="darken",
                                            foreground=None,
                                            effect_type="binding_holes",
                                            width_range = "random",
                                            height_range = "random",
                                            ntimes=(9, 10),
                                            nscales=(1, 2),
                                            edge="top",
                                            edge_offset=(40,50),
                                            use_figshare_library=0,
                                            )

img_binding_holes =binder_binding_holes(image)
cv2.imshow("binding_holes", img_binding_holes)
Augmented image:

Example 3#
In this example, a BindingsAndFasteners augmentation instance is initialized and it is using a synthetic binding clips mark. Both of the width and height of clips are set to random (“random”). The binding clips mark is set to bind 2 to 3 times (2,3) and with scale of 1 to 2 (1,2). The effect is set to random edge and with random offset range of 10 to 20 pixels from the edge.
Code example:
binder_binding_clips = BindingsAndFasteners(overlay_types="darken",
                                            foreground=None,
                                            effect_type="clips",
                                            width_range = "random",
                                            height_range = "random",
                                            ntimes= (2, 3),
                                            nscales=(1, 2),
                                            edge="random",
                                            edge_offset=(10,20),
                                            use_figshare_library=0,
                                            )

img_binding_clips = binder_binding_clips(image)
cv2.imshow("clips",img_binding_clips)
Augmented image:
Example 4#
In this example, a BindingsAndFasteners augmentation instance is initialized and it is using a new binder image. The binder is set to bind 2 to 3 times (2,3) and with scale of 1 to 2 (1,2). The effect is set to right edge and with random offset range of 10 to 20 pixels from the edge.
Code example:
binder_rectangle = np.full((50,20),fill_value=250,dtype="uint8")
binder_rectangle[10:40,5:15] = 0


user_binder_clips = BindingsAndFasteners(overlay_types="darken",
                                         foreground=binder_rectangle,
                                         ntimes= (2, 3),
                                         nscales=(1, 2),
                                         edge="right",
                                         edge_offset=(10,20),
                                         use_figshare_library=0,
                                         )

img_user_binder = user_binder_clips(image)
cv2.imshow("user binders",img_user_binder)
A newly created binder:

Augmented image:
